I recently decided that I needed a garden shed to house all my tools, and things I just didn’t want to store indoors. So after much research online, I picked Tiger Sheds and one of their Corner Summerhouses. I thought it was the perfect size to neatly fit into the corner of my garden, without taking up too much space. So I placed the order and awaited the delivery, which came in lots of large parts. To be honest the job of building a shed is really a two man job, however I made the mistake of deciding I could do it myself and only just managed it. The individual parts are pretty heavy, so unless you are a keen gym goer then make sure you have the extra lifting hands available.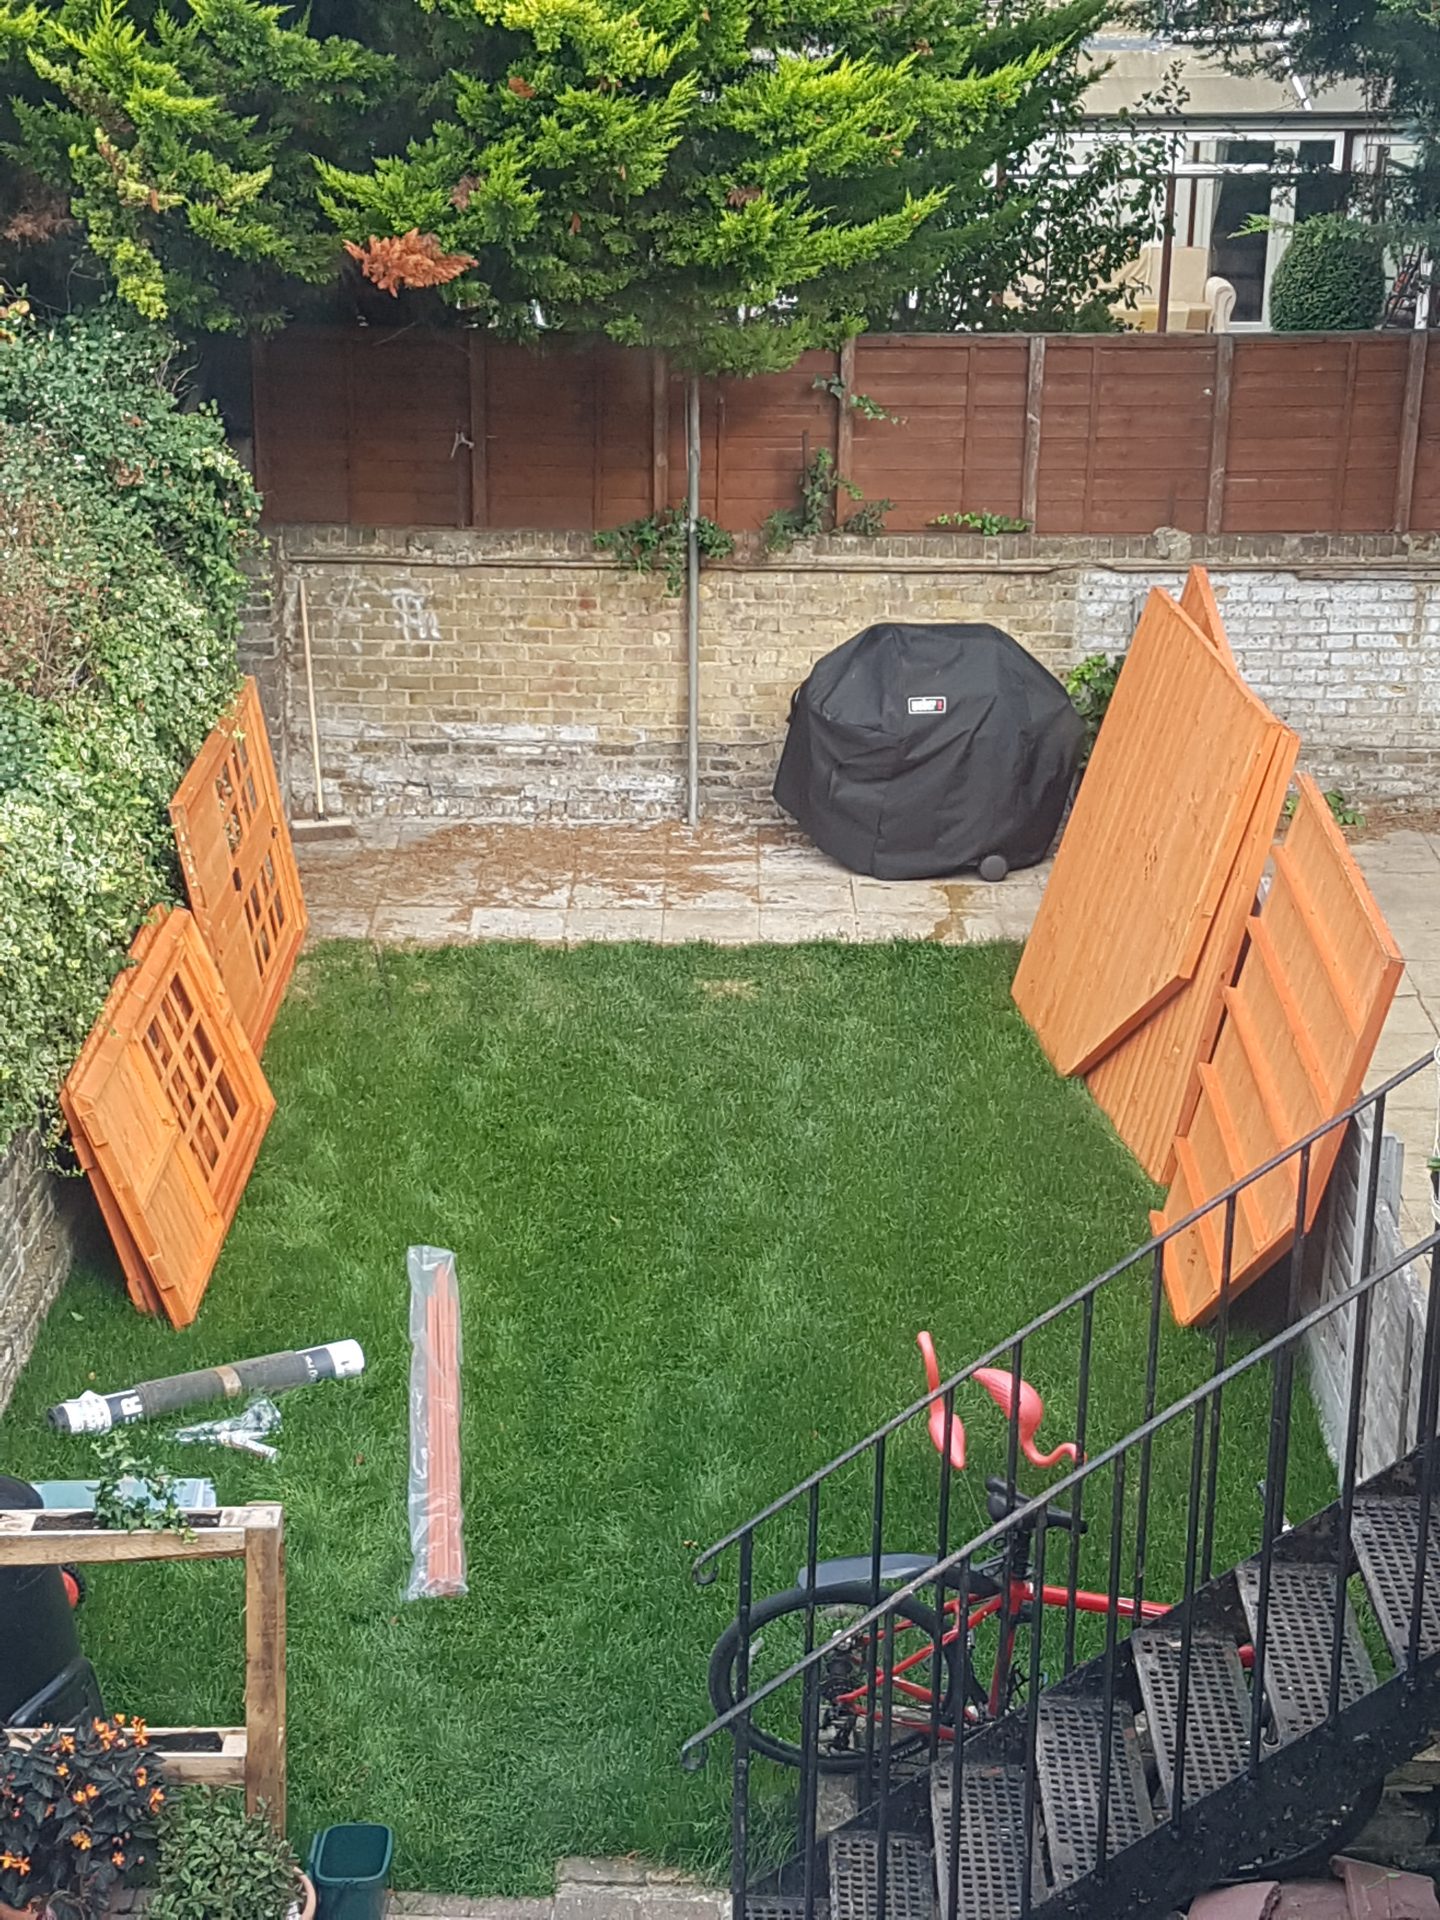
Its important with any home DIY to make sure that your work space is free from clutter and prepared for the job at hand. I had already laid a patio with stone slabs so knew my foundations were level and ready.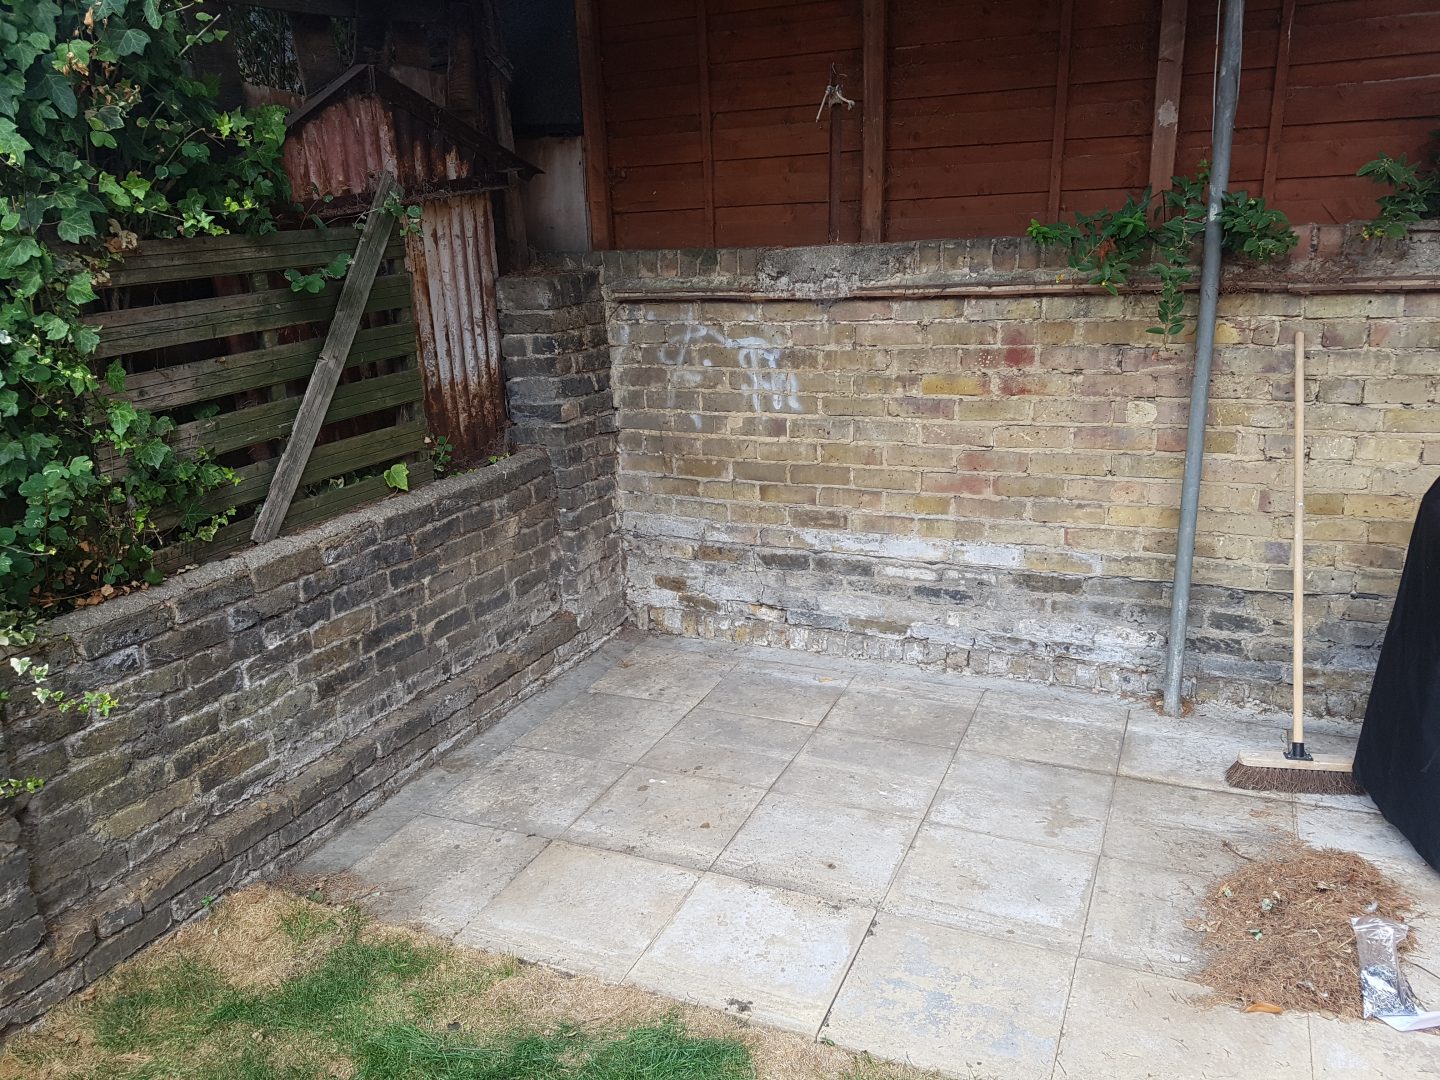
Next up was shed floor / base. This was easy and I just dropped it into place, thankfully it was a perfect fit. 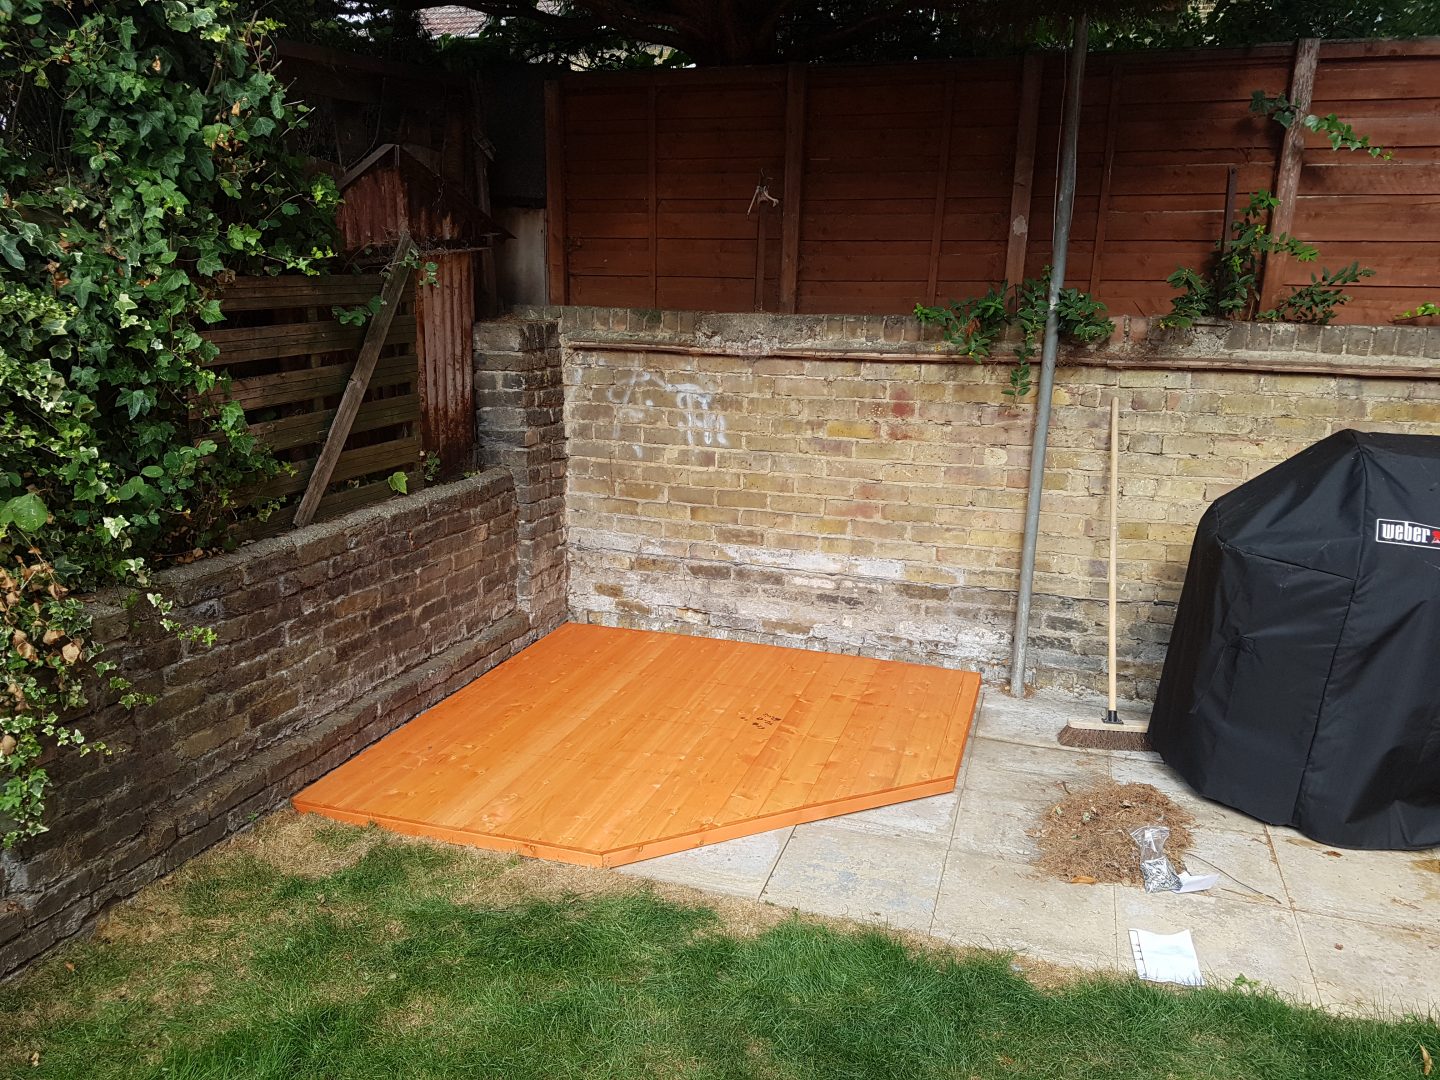
Next you have to nail the corner walls into place. This is one job that really needs two people. Hold each wall upright and straight whilst nailing them into the base needs two people to do this. However, I battled on and had the walls up so the corners and doors were up next.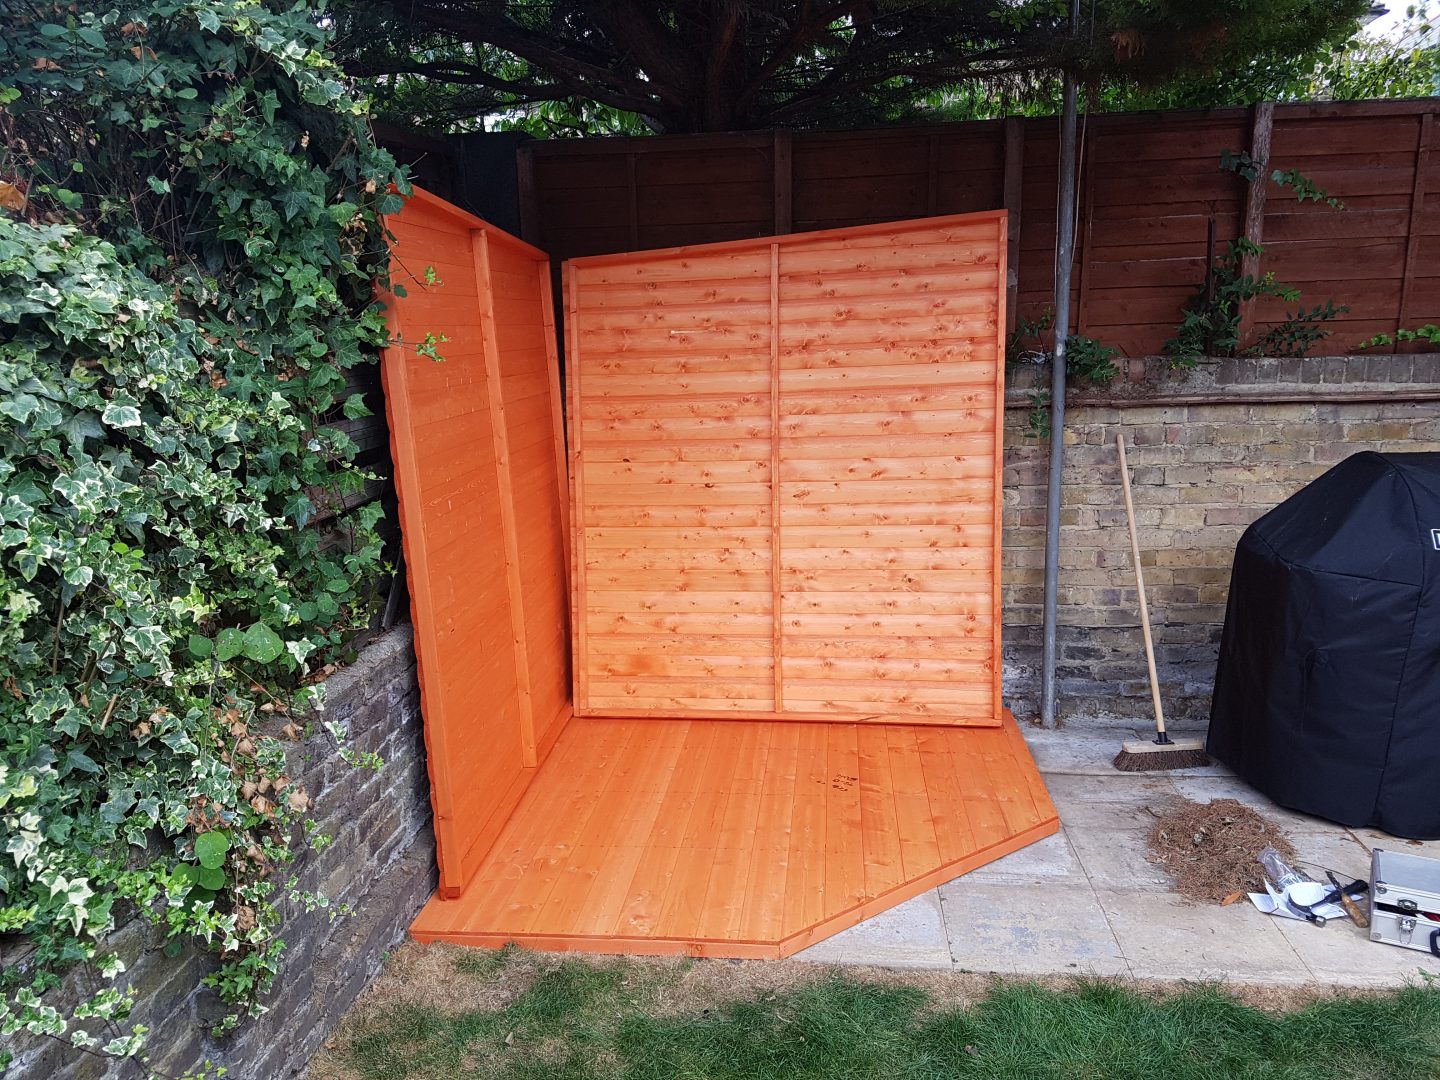
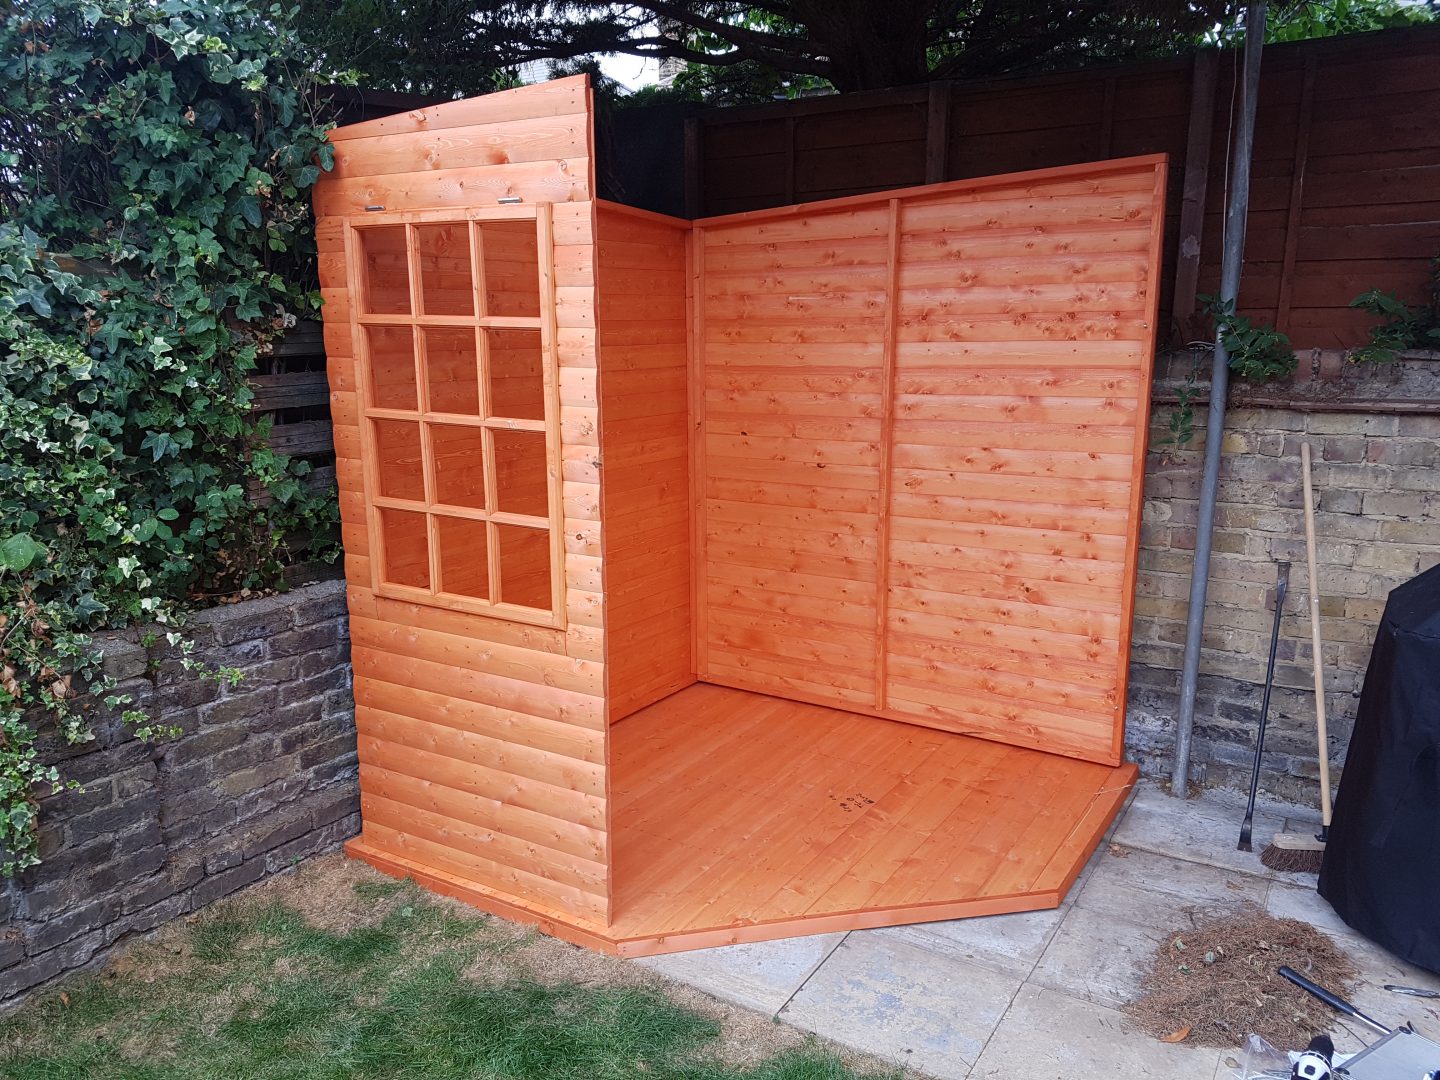
Finally I popped the roof on the shed which gave some real stability to the whole thing. Then I went about tacking the felt roof into place to make sure the shed was watertight. 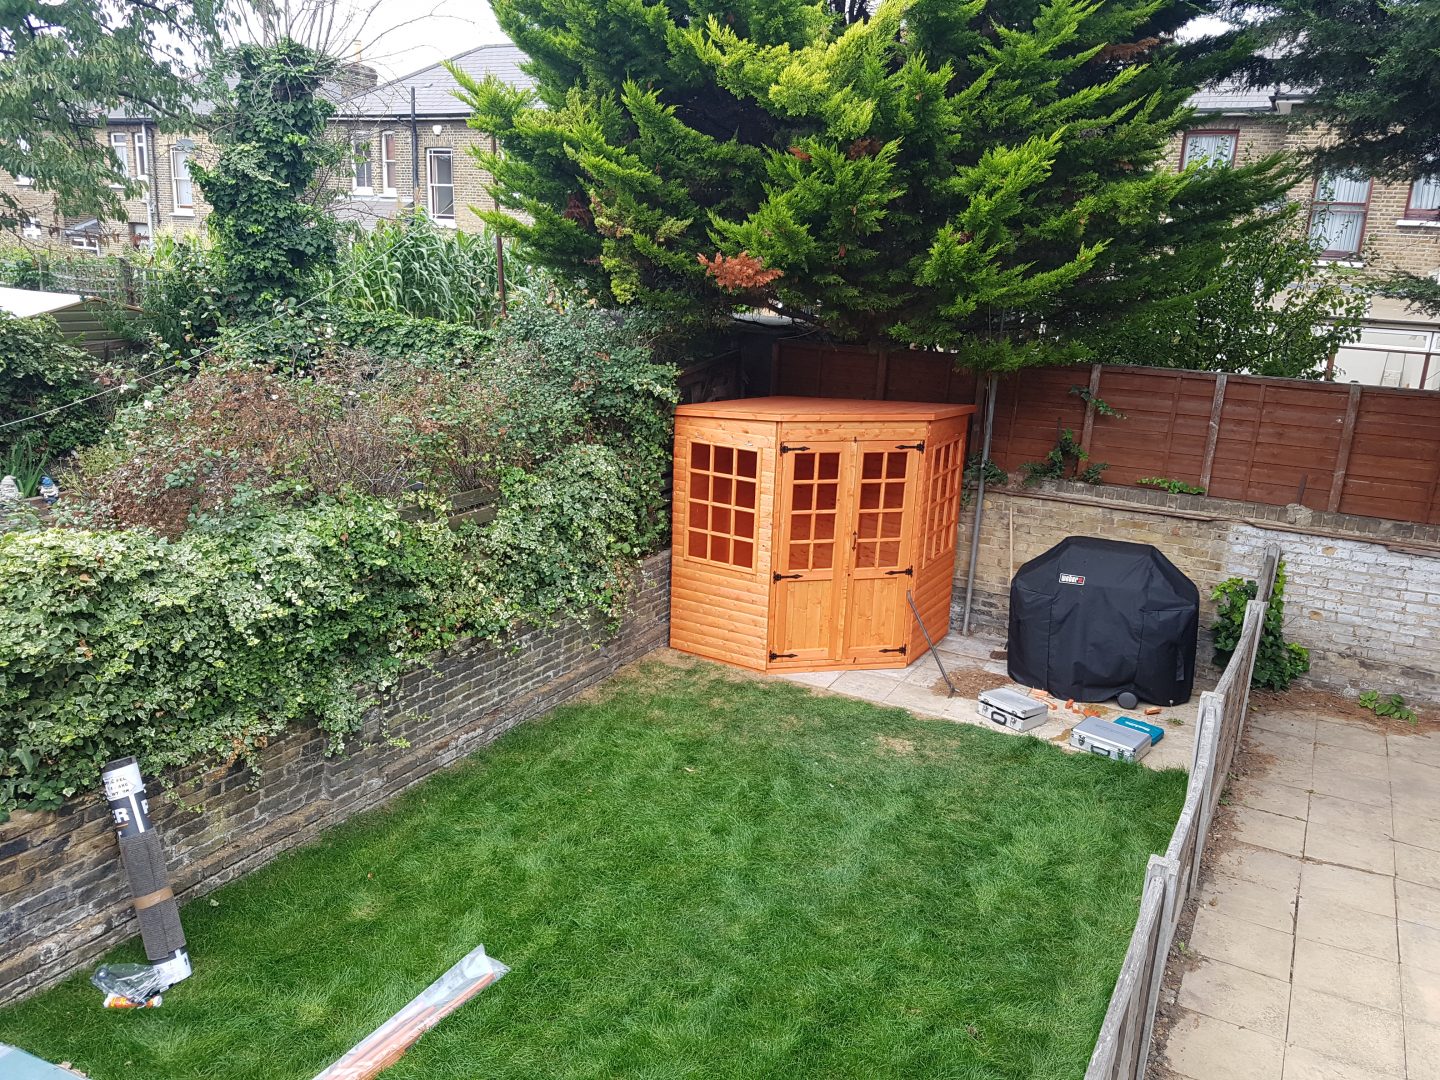
Im sure many people would stop at that once the shed is complete. Some may paint it. I decided to not just paint it, but paint it many colours which then inspired me to paint the slabs. All in all, I hope you would agree that the colour injection really gives a unique feature in the corner of the garden that was otherwise a little plain. 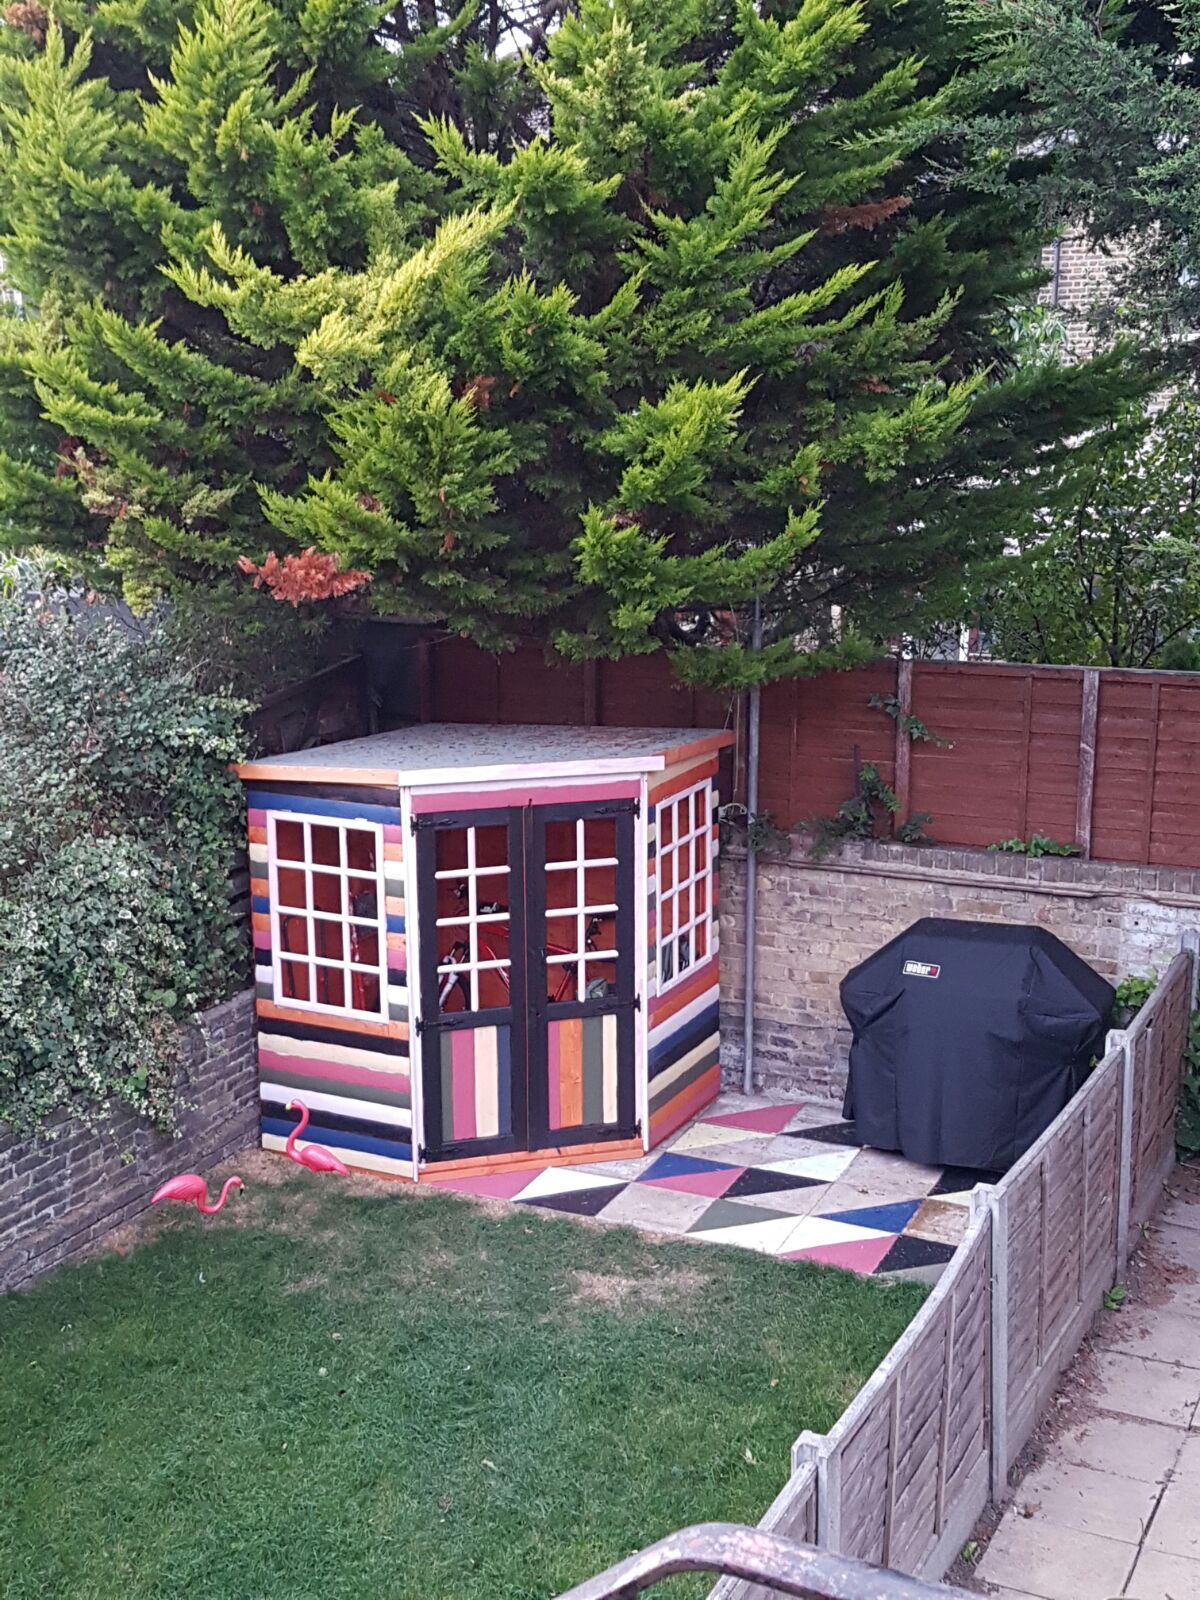
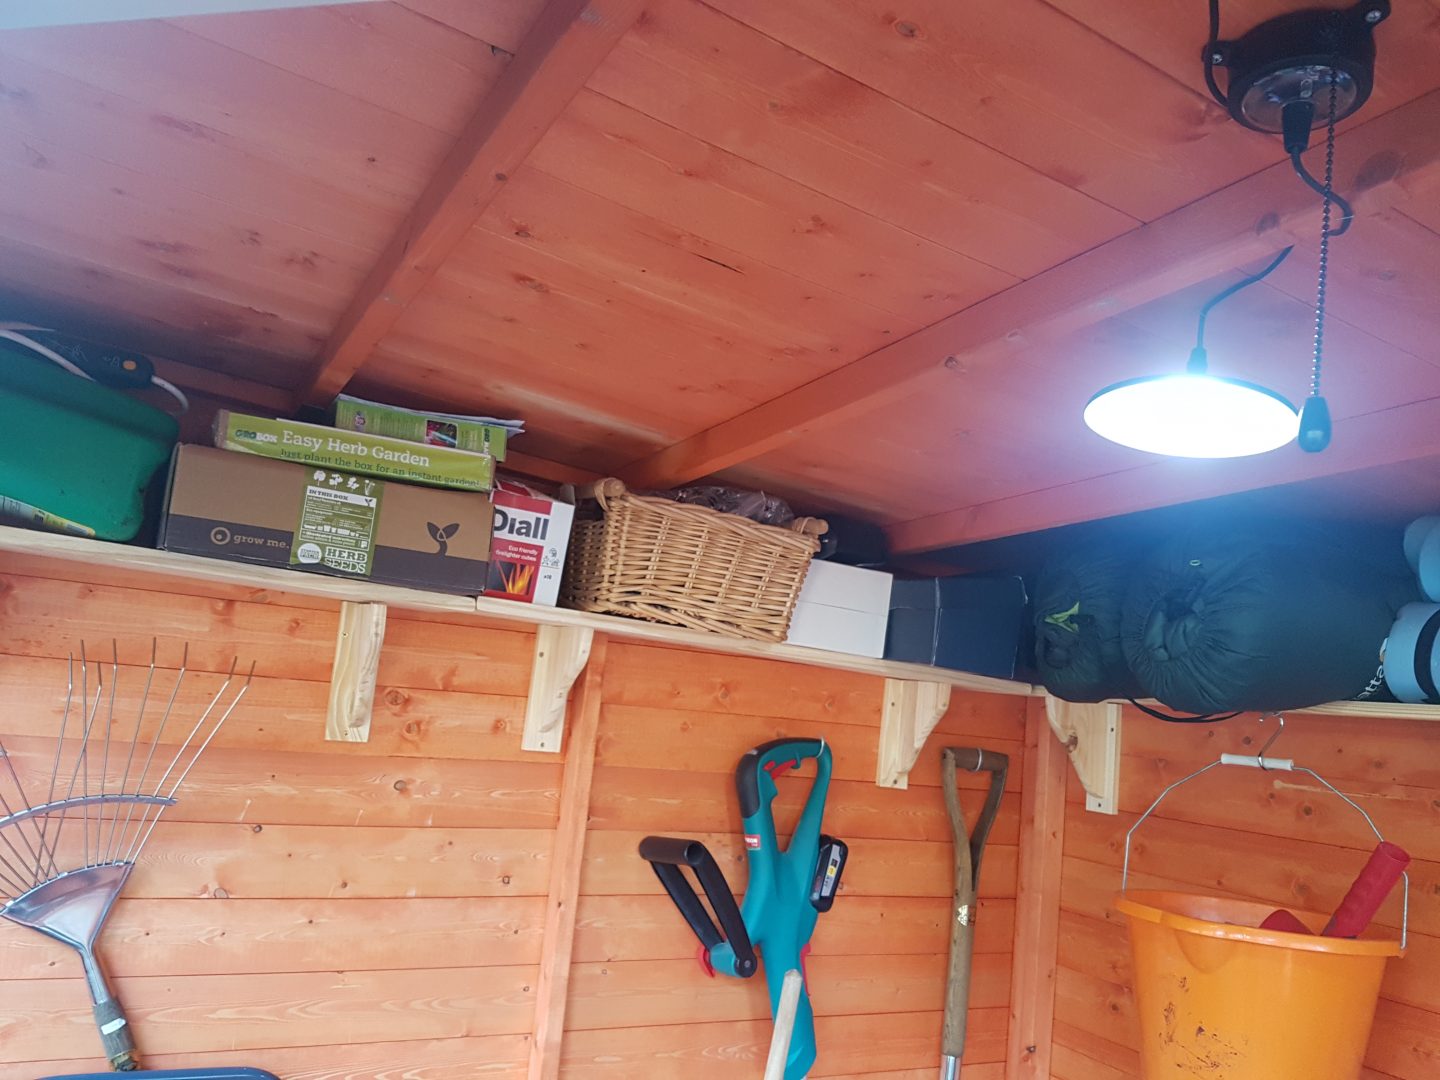
Now I wasn’t finished there. Next up was installing some shelves and an internal solar powered light. I picked up the pine shelves very cheaply from B&Q, and cut them to size myself. 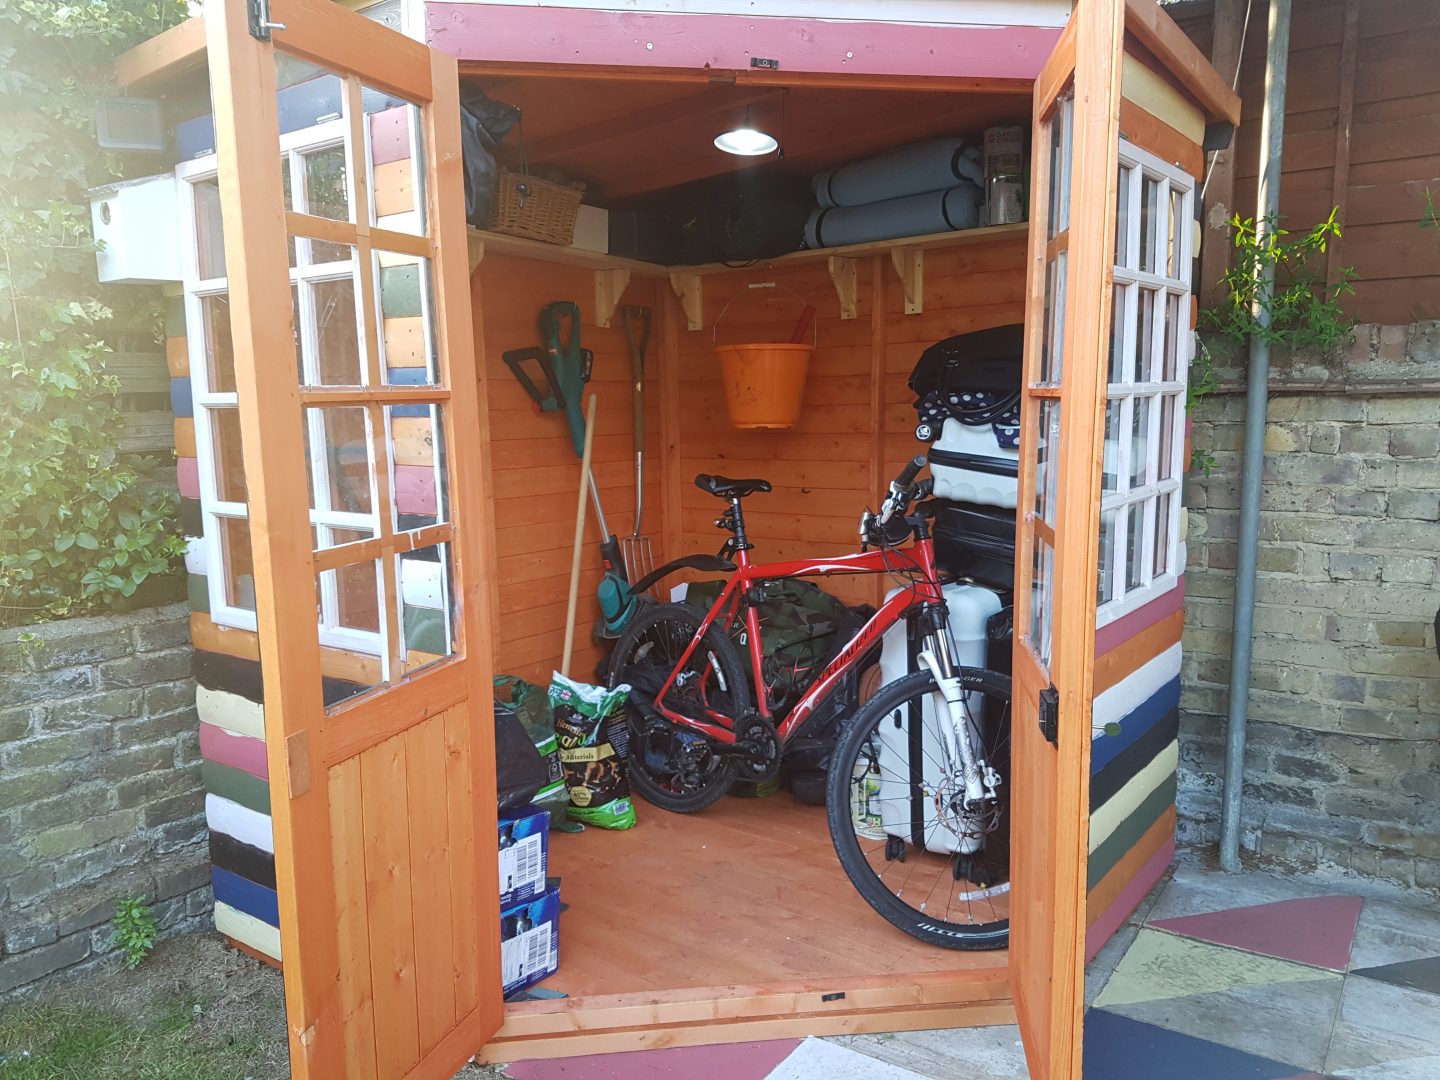
The LED light I found on Amazon and is a neat addition to the shed. Its solar powered (you can see the solar panel on the left hand side of the shed), and can be operated by a remote control or a pull chain. Really easy to set up, and has given me light at the back of the garden and in the shed.
Hopefully you will find this post helpful this summer when deciding on your garden shed decisions. After going through the process myself, I wanted to share the experience and inspire others to get into DIY. You will love the sense of achievement when you proudly look back at your handy work.

